")
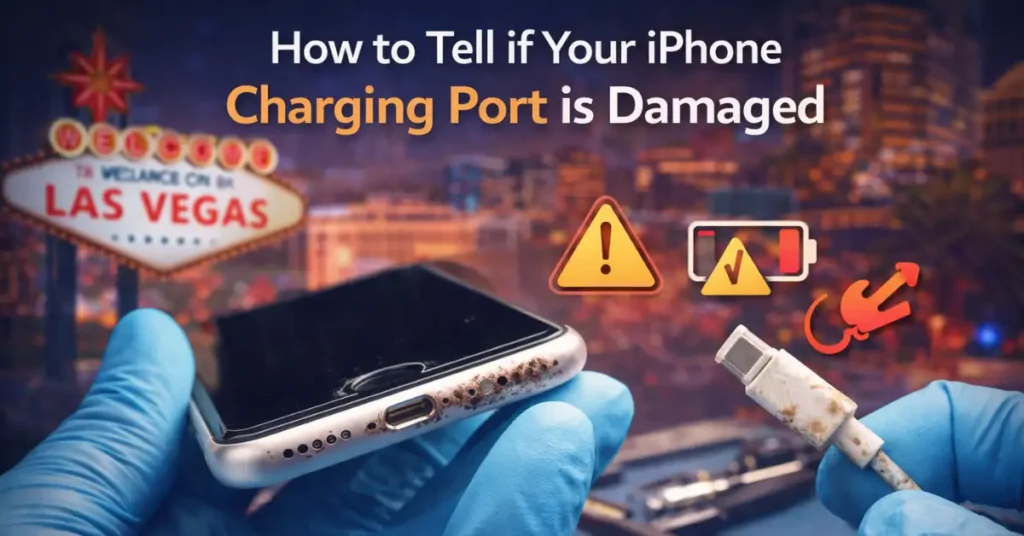
Your iPhone won’t charge properly. You’ve wiggled the cable into just the right position, but it keeps disconnecting. Sound familiar?
A damaged charging port creates real frustration. Your phone dies at the worst moments. You miss important calls. Work emails pile up.
After handling thousands of iPhone repairs at our Las Vegas shop, we’ve seen every charging port problem imaginable. The good news? Most issues have simple fixes you can try at home.
Key Takeaways:
- iPhone charging ports fail from debris, wear, drops, or liquid exposure
- Warning signs include intermittent charging, angle-dependent connections, slow speeds, overheating, or lost data sync
- Test your cable and battery first before assuming port damage
- Clean safely with wooden tools and compressed air
- Professional repairs cost $50–$150 at third-party shops or $149–$549 through Apple
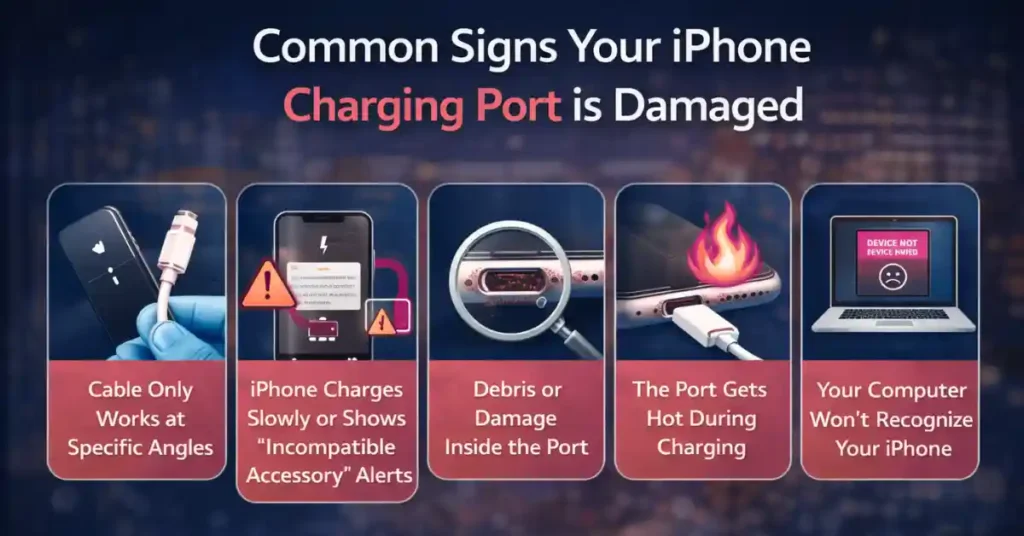
5 Common Signs Your iPhone Charging Port is Damaged
Your charging port shows clear warning signs before it fails. Catching these early saves you money and prevents total breakdown.
The Cable Only Works at Specific Angles
Plug in your iPhone and gently wiggle the cable. Does charging start and stop based on the angle? The port’s metal pins gradually loosen from repeated cable insertions. They misalign and break contact with your charging cable.
What starts as a slight wiggle requirement becomes a delicate balancing act.
Your iPhone Charges Slowly or Shows “Incompatible Accessory” Alerts
Poor pin contact creates unstable voltage that your iPhone detects as a problem. The system throws up “This Accessory May Not Be Supported” warnings to protect itself.
Charging crawls at 1-2% per hour instead of reaching 50% in 30 minutes with a proper 20W adapter. The percentage jumps around erratically or stops charging entirely, even though the cable stays plugged in.
You See Debris or Damage Inside the Port
Shine a flashlight into your charging port. USB-C ports (iPhone 15 and newer) have a center tongue surrounded by contact blocks. Lightning ports (older iPhones) show pins along both sides. Debris blocks these critical components from touching your cable properly.
Months of carrying your phone in pockets or bags create a significant buildup. This looks like port damage, but it often cleans out easily.
Also check for bent pins, green or white corrosion, or burn marks. These indicate actual hardware failure.
The Port Area Gets Hot During Charging
Normal fast charging creates some warmth. Excessive heat means electrical problems. When debris or corrosion bridges the charging pins, it creates short circuits. The port becomes hot to the touch and generates heat that degrades your battery over time.
Your Computer Won’t Recognize Your iPhone
Lightning and USB-C ports handle both power and data transfer. If your phone charges (barely) but iTunes, Mac Finder, or file transfers fail, the data pins inside have failed.
Test with multiple computers and cables. Consistent failures across all setups mean your port’s data lines are compromised.
Critical iOS Error Messages to Watch For Charging Port Issues
Your iPhone’s built-in diagnostics throw specific alerts when the charging port struggles.
“Liquid Detected in Lightning/USB-C Connector”
This safety feature appears after spills, rain exposure, or iphone damaged by water or liquid in general. Your iPhone halts charging completely to prevent short circuits.
Wait 24-48 hours in a dry environment. Skip the rice myth. Use silica gel packets or simply air-dry the phone upright. Persistent alerts after thorough drying mean corrosion has started.
“This Accessory May Not Be Supported”
Cheap knockoff cables trigger this error most often. They lack the MFi (Made for iPhone) authentication chip that Apple requires.
But what if your genuine Apple cable also fails? The port can’t properly read the authentication chip anymore. Your iPhone throttles charging power when it detects “unsafe” accessories.
Diagnostic Checklist: Is it the Cable, the Battery, or the Port?
Not every charging problem means a broken port. Test your cable and battery first.
| Symptom | Likely Culprit | Quick Test |
| Charges fine for using a different cable | Faulty cable | Swap with a known-good MFi accessory |
| Charges wirelessly but not via cable | Damaged port | Enable Qi or MagSafe on compatible iPhones |
| Phone stays at 1% for hours | Failing battery | Check Settings > Battery > Battery Health |
| Overheats only when plugged in | Port short circuit | Try another cable and monitor the temperature |
| Won’t charge at all, but powers on | Port or internal connection | Force restart your iPhone |
Wireless charging reveals the truth immediately. iPhone 8 and newer support Qi charging. If wireless works perfectly while cable charging fails, your port is definitely damaged.
Pro Tip: Battery capacity below 80% in Settings means your battery needs replacement, which could explain slow charging regardless of port condition. That’s why it is important to preserve your battery life as much as possible.
How to Safely Diagnose and Clean Your Port
We’ve found that proper cleaning fixes about 70% of charging port issues. Follow these steps carefully to avoid damage.
Step 1: The Visual Inspection
Power off your iPhone completely. Grab a bright flashlight and tilt your iPhone’s charging port toward the light.
Look for these problems:
- Packed lint or pocket fuzz
- Bent or missing pins
- Green or white corrosion
- Burn marks or discoloration
The port should feel firm when you insert a cable. A “mushy” feeling means the internal bracket has broken.
Step 2: Safe Cleaning Practices
Never use metal tools. Paper clips, needles, or metal toothpicks conduct electricity and bend pins easily. We see snapped pins from metal tools every week at our repair shop.
Use wooden toothpicks, plastic picks, or anti-static brushes. Gently scrape along the port edges in a circular motion. Never stab straight into the center.
For stubborn lint, twist the toothpick slowly to catch fibers. Pull them out rather than pushing deeper.
Avoid liquids unless necessary. If you must, use 90% or higher isopropyl alcohol on a microfiber cloth. Let it air dry for 10 minutes before testing.
Step 3: The Compressed Air Method
Canned air designed for electronics works best. Hold the can upright and position the nozzle 1-2 inches from the port.
Use short bursts at a 45-degree angle, pointing upward. This lifts debris out rather than pushing it deeper. Three to four quick bursts usually suffice.
A properly cleaned port should “snap” securely when you insert a cable. Plug in and charge for 30 minutes. If problems continue, stop DIY attempts.
When DIY Isn’t Enough: Professional Repair Signs
Some problems need professional microsoldering equipment and expertise.
Missing or bent pins require microscopes and precision tools. Trying to straighten bent pins yourself usually snaps them completely.
A loose, mushy port means the internal bracket has cracked. This requires opening your iPhone and replacing the charging port flex cable.
Zero improvement after cleaning points to corrosion or internal damage invisible to the naked eye. Water damage often corrodes connections behind the visible port.
Faster battery drain happens when failed ports force extra charge cycles. Check your battery health for sudden drops of 10-20% within months.
Repair Costs: What to Expect
Charging port repairs vary widely based on your iPhone model and warranty status.
| Repair Type | Apple (US) | Third-Party (US) |
| Out-of-warranty Lightning port (iPhone 14 and older) | $149–$549 | $50–$120 |
| AppleCare+ deductible | $29 per incident | Not applicable |
| USB-C port (iPhone 15 and newer) | $199+ | $80–$150 |
UK prices mirror US costs in pound equivalents plus VAT. Third-party shops offer same-day service. We typically complete charging port replacements within 2-3 hours at our Las Vegas location.
AppleCare+ shines for multiple repairs with $29 deductibles covering unlimited incidents.
Conclusion & Prevention Tips
Your iPhone’s charging port shows clear warning signs before complete failure. Most issues stem from debris rather than broken hardware. A careful cleaning with wooden tools and compressed air fixes the majority of charging port complaints we handle.
True damage needs professional attention. Don’t delay when you see missing pins, persistent corrosion, or mushiness after cleaning.
Protect your investment:
- Use only MFi-certified cables
- Remove cables straight out rather than yanking at angles
- Inspect monthly and clean quarterly
- Enable Optimized Battery Charging in Settings
Need professional help? At FixMyPhoneLV, we’ve completed thousands of successful iPhone charging port repairs for Las Vegas residents. Most jobs finish in 2-3 hours with quality parts and warranties.
Your iPhone’s lifespan depends on addressing charging issues quickly.
Frequently Asked Questions
1. Can I fix a loose charging port without replacing it?
Ans- Sometimes. Debris cleaning tightens connections in about 80% of cases we see. For wear-induced looseness, thin plastic shims work temporarily but aren’t a permanent solution.
2. Will a broken port drain my battery faster?
Ans- Absolutely. Intermittent power flow stresses lithium batteries through repeated partial charge cycles and heat. This can drop battery health by 10-20% yearly. Enable Optimized Battery Charging in Settings to reduce the damage.
3. Is it safe to use a toothpick to clean my iPhone?
Ans- Yes, but only wooden or plastic toothpicks. Gently work along the port edges, never straight into the center. Metal toothpicks are dangerous and can snap pins.
4. Can I clean my iPhone’s charging port with water?
Ans- Never use plain water. Water contains minerals that leave corrosive deposits when it dries. Stick to 90% or higher isopropyl alcohol if liquid cleaning is necessary.
5. Can I clean my iPhone’s charging port with alcohol?
Ans- Yes, but only isopropyl alcohol at 90% concentration or higher. Apply a tiny amount to a microfiber cloth, gently insert just the edge into the port, and let it air dry completely for 10-15 minutes.